How to Take Newborn Photos at Home

How to Take Newborn Photos at Home
A simple guide to creating beautiful photos of your newborn baby in the comfort of your own home.
With my studio doors temporarily closed, I feel sad at the thought of all the newborn baby snuggles I’m missing out on. Lots of my lovely clients have transferred their newborn bookings to one of my milestone sessions (smiling, sitting, first birthday etc) but I still want them to have lovely images of their newborn to look back on in years to come.
With the aid of my daughter’s doll, I’ve created a really simple guide to help you capture flattering images of your baby using natural light and your camera phone.
Fed, Warm and Happy
First things first, the key to getting lovely sleepy shots of your baby is to make sure they are fed, winded, dry and warm. So give your baby a big feed, change their nappy and heat your room up and shut any doors or windows (to avoid draughts).
What Should Baby Wear?
Most newborn outfits are usually a little too big or bulky (even if you bought ‘newborn’ size). I have specially made newborn outfits which I use during my shoots but they take weeks/months to arrive and they are very expensive if you’re only planning on using them once.
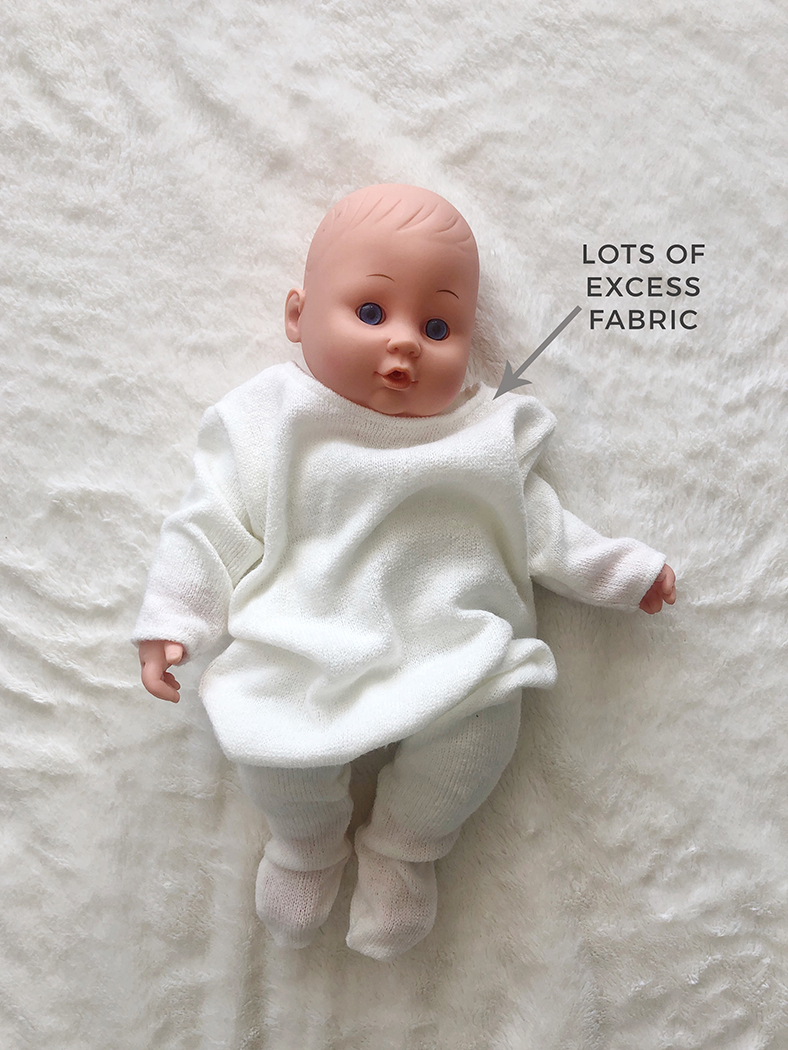
I would recommend putting your baby in a sleep suit and then pulling the fabric down, away from baby’s face so no fabric is obstructing those delicate little features.
Then I would wrap baby in a blanket. Newborn babies LOVE being swaddled. The extra warmth and security remind them of being in the womb. I use long pieces of pretty stretchy fabric to artfully wrap babies but you really don’t need to go to all that trouble for home photos.
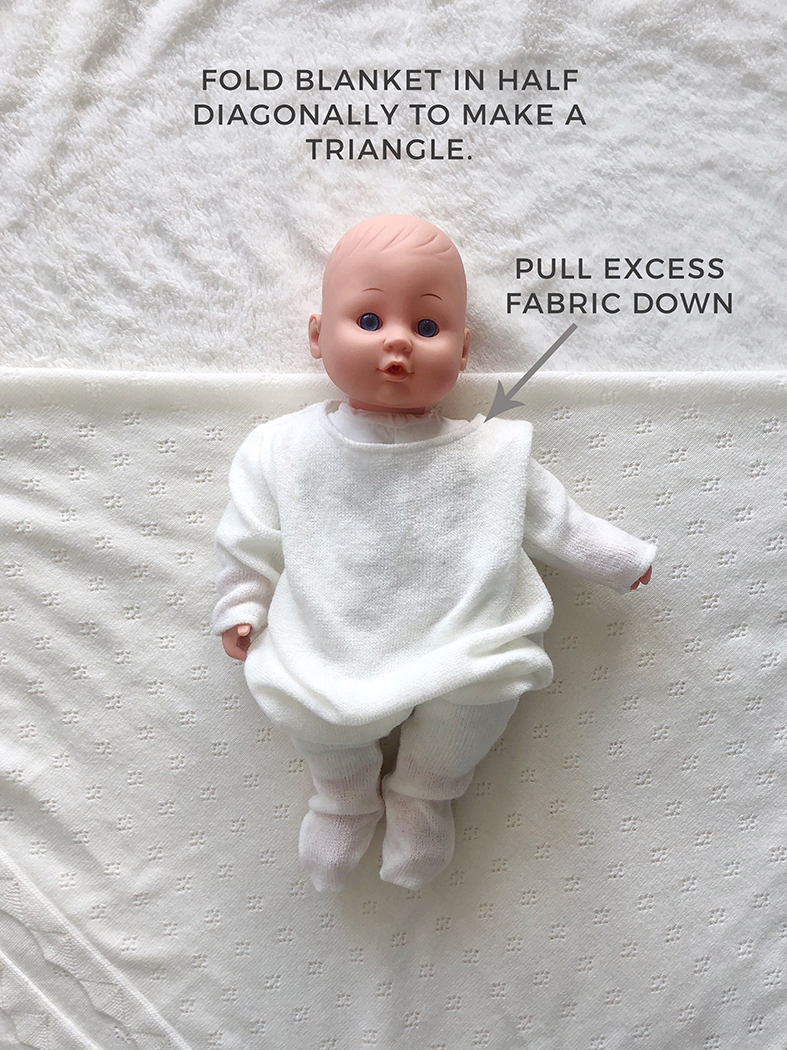
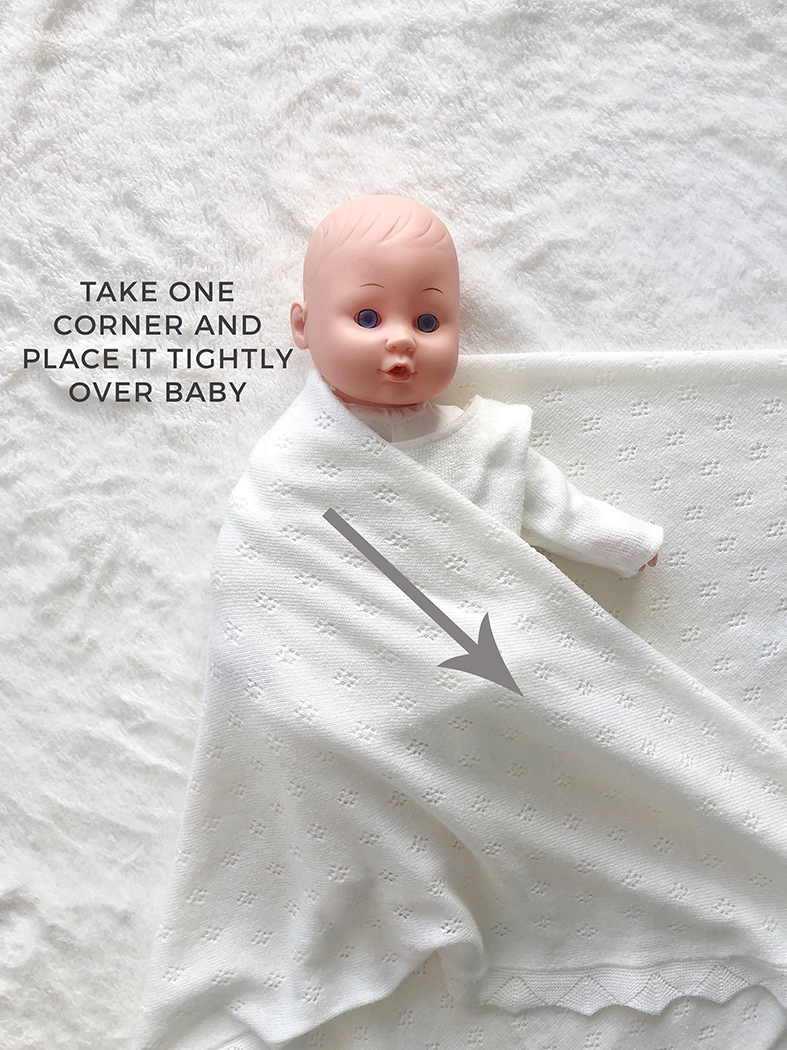
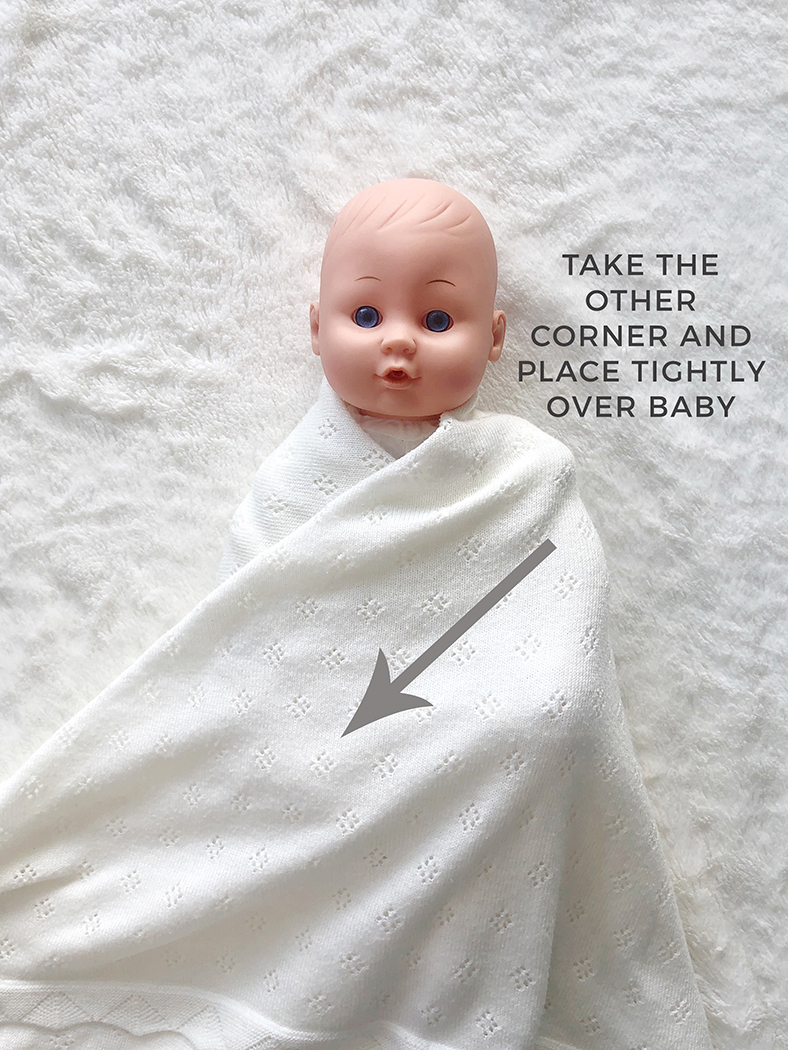
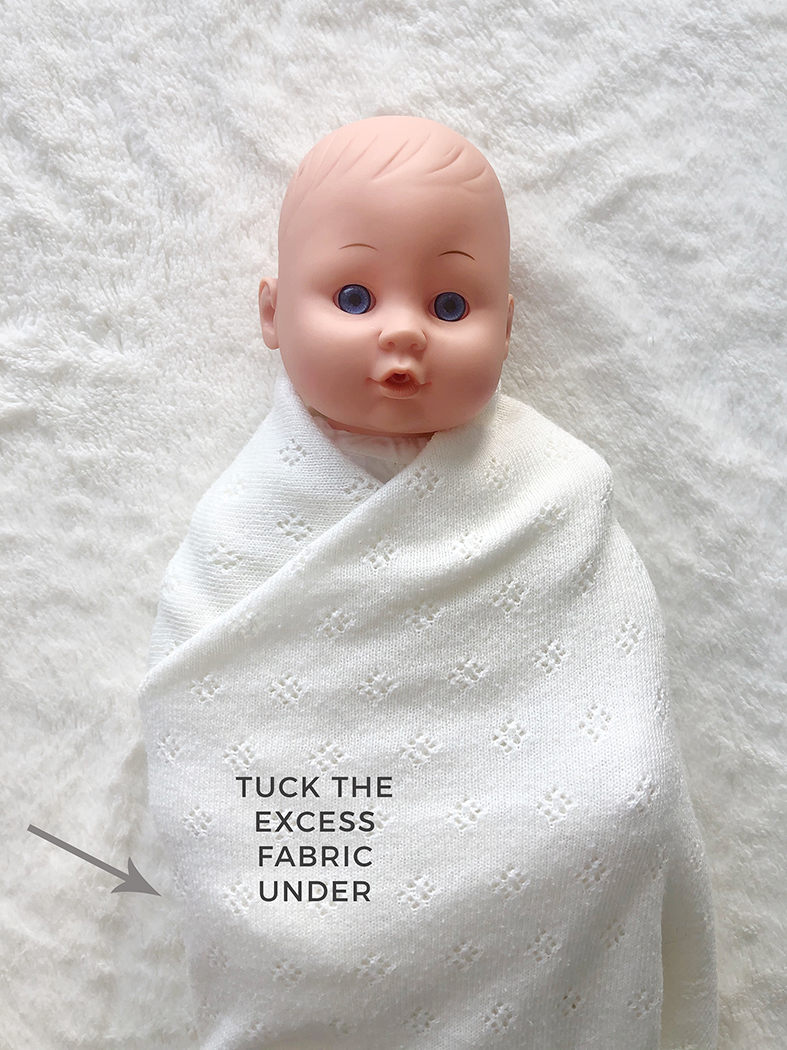
Take a blanket, fold it in half diagonally to make a triangle, place baby on the blanket, take one corner and place it tightly over baby, take the other corner and place tightly over baby and then tuck the excess fabric under your baby as the weight of your little one will anchor the blanket. It might take a couple of attempts to get it looking neat.
Lighting
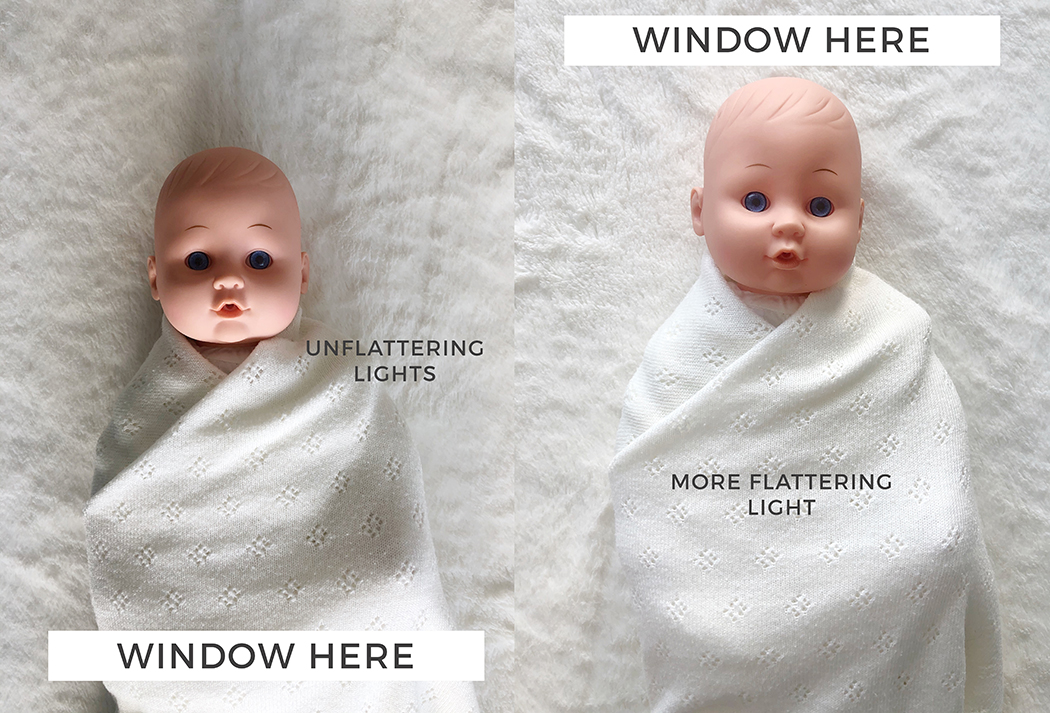
You need to look for soft light. Morning light is best however all of my photos on this blog were taken using afternoon light which is a little harsher than I would like but they still came out nicely. You can always use voiles to diffuse your lights. Look for a big window with soft shadows.
Posing
Place baby on their back with the top of their head closest to the window and their feet furthest away. You always want light to travel down babies nose, not up.
Please do not attempt to pose your baby into any of the poses you may have seen in my portfolio. I use specialist equipment, I’ve had years of training and often, the images you see are actually 2 images merged together later in photoshop. The safety of your baby is all that matters so stick to taking photos of your baby on their back.
Angles
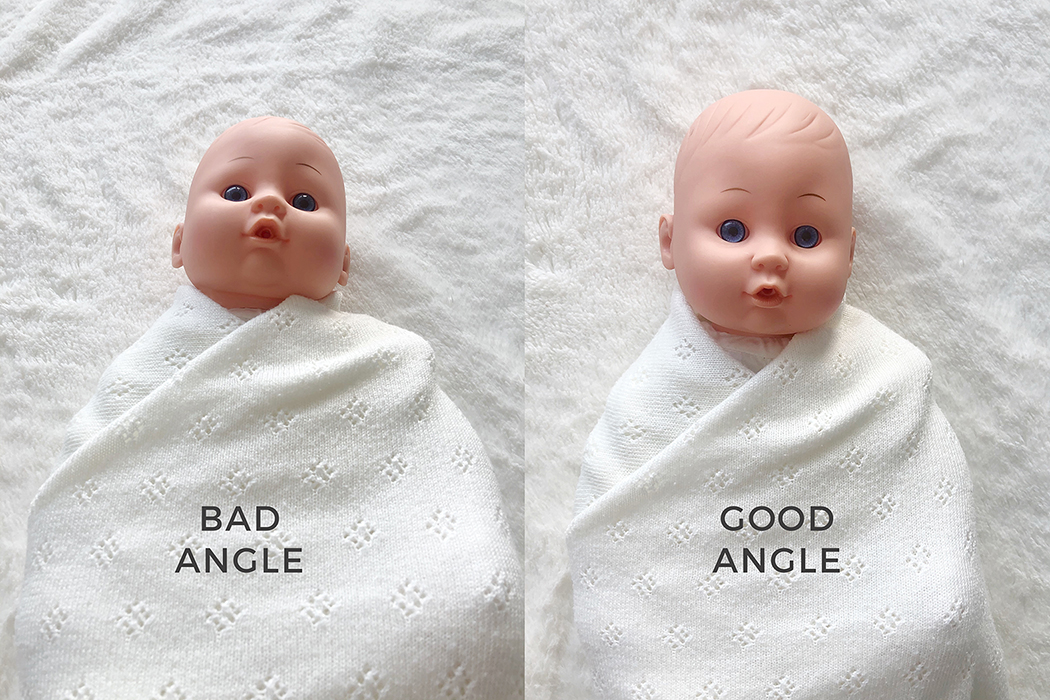
Shoot from above your baby, not below. Otherwise you’re just going to get a lot of nostril shots!
And don’t forget to capture close ups of their tiny hands, feet, ears and wispy hair.
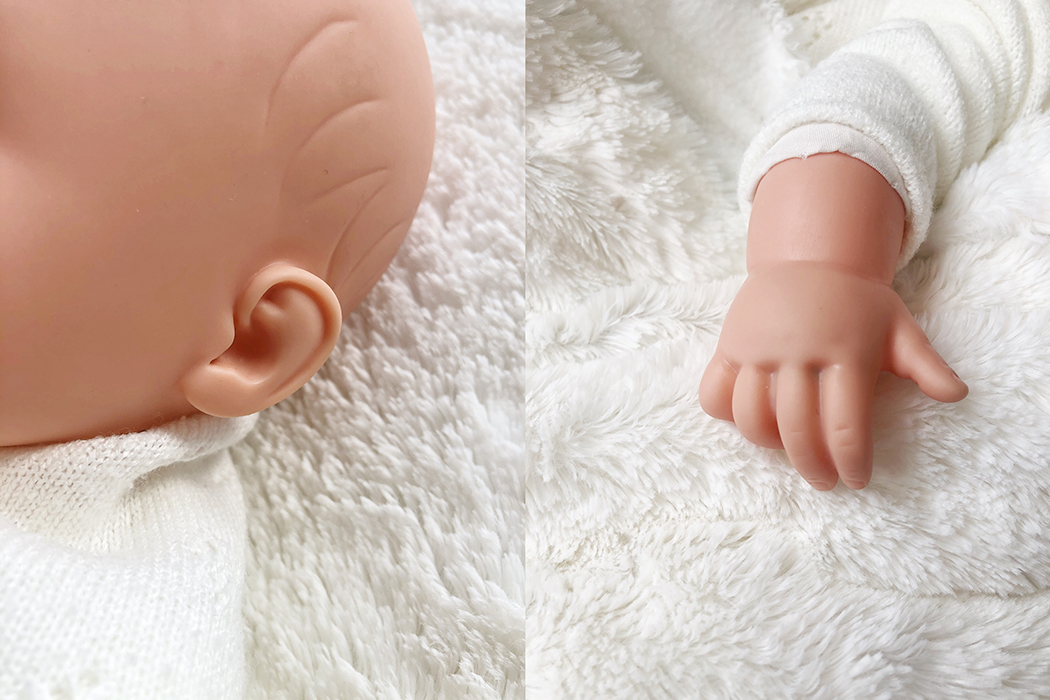
Customise the Shot
Try using a patterned blanket to lay baby on or use a pretty muslin cloth to wrap over baby. Maybe scrunch up the blanket underneath baby or pull it taut for two different looks. Add a teddy bear to the shot and then use the same teddy each month for a progression photo. Have fun! There’s no such thing as too many photos of your gorgeous baby.
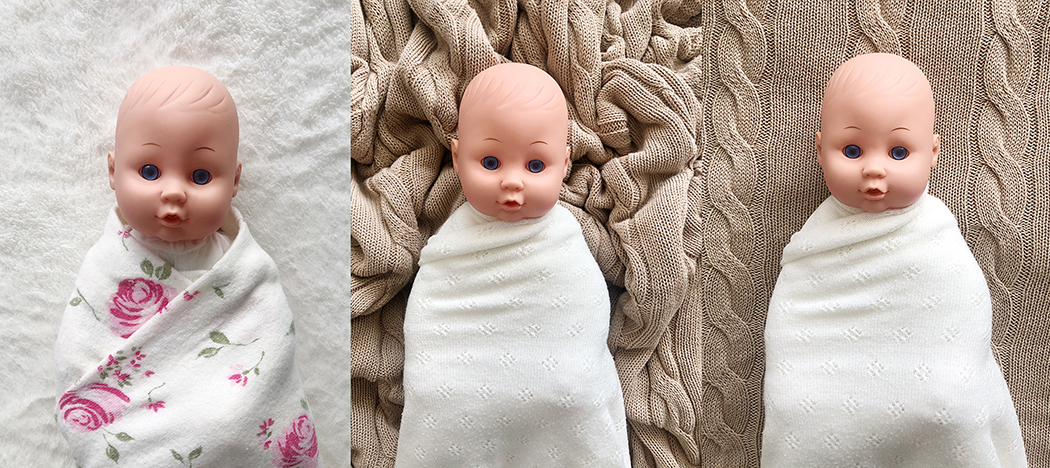
Editing
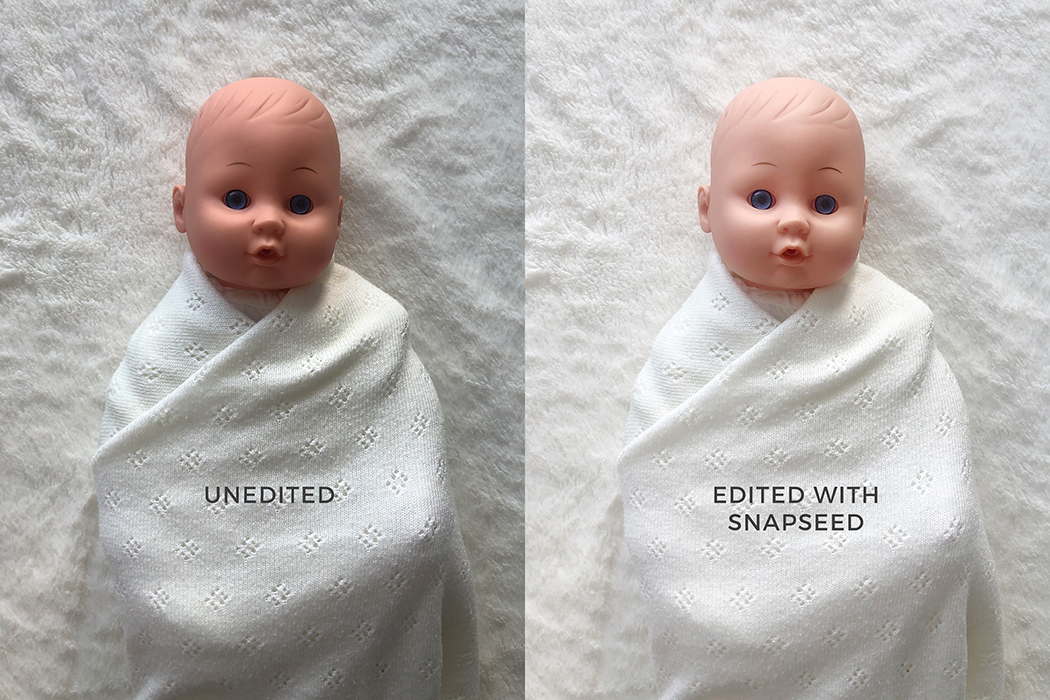
I use Photoshop but it’s expensive and not very user friendly. I tried out a few editing apps and my favourite is Snapseed. Play around with the different tools until you get a look you like. Less is usually more though and you can easily over-edit a photo without even realising it so I always save the edited photo as a standalone copy so that the original is always safe to go back and play with in future.
